Install WordPress in Ubuntu
Ubuntu is having a fair share of contributing to some of the best websites in the digital space. Similarly, for website development, WordPress which is an open-source content management platform is one of the most preferred options. It is based on MySQL and PHP and happens to be the leading platform for hosting blogs around the globe.
Table of Contents
It is easy to use, cost-effective, responsive, and SEO ready. In addition to that, it is easy to install and upgrade on any operating system. In this quick read, we will learn how to install WordPress in Ubuntu. We have to cover all the aspects related to the same so that you do not face any difficulties. Please note that this installation process is for Ubuntu 18.04.
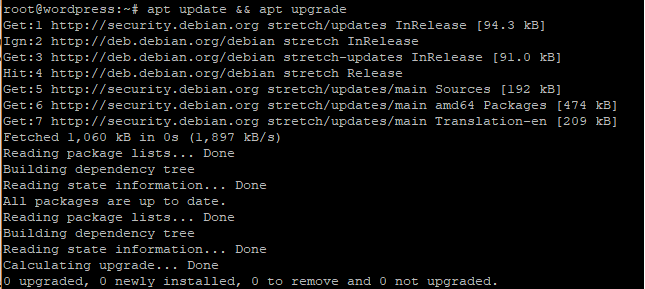
Before you begin the installation process, ensure that system is updated and upgraded. To update the repositories it is essential to update the system. And to do so, it is important for you to log in as a root user in the system.
apt update && apt upgrade
Once that is done, we will install Linux Apache MySQL and PHP stack which is also known as LAMP.
Step 1 – Install Apache
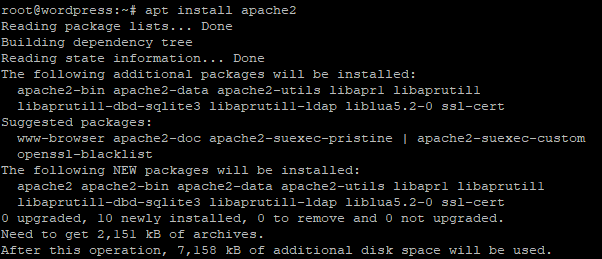
Apache should be installed first as you jump right in the process. The following command should be executed to do this.
apt install apache2
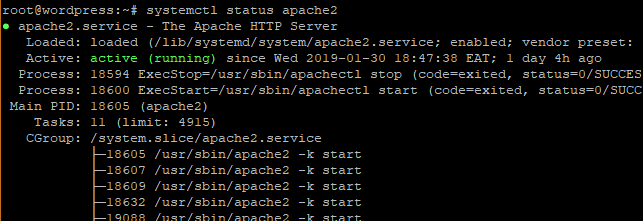
Now after the output is displayed it becomes necessary to confirm that it has been installed on your system. To do so, enter the command as follows.
systemctl status apache2
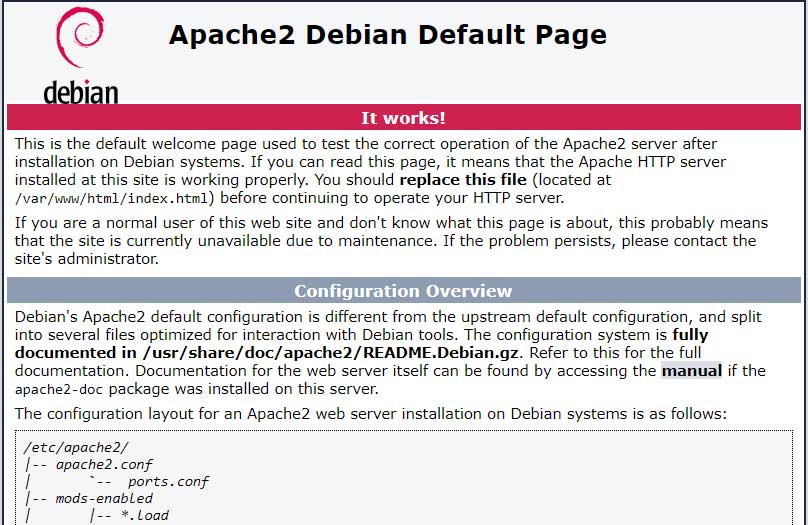
For additional verification, you can also resort to your browser and open the server’s IP address with the following URL.
Step 2 – Installing MySQL
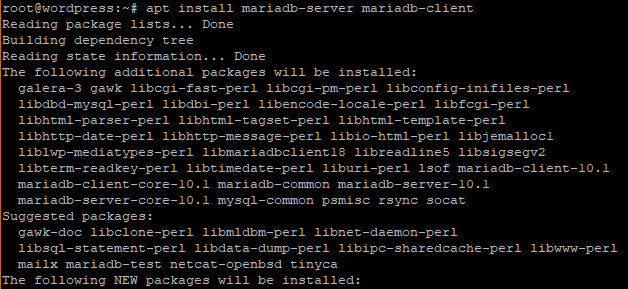
To hold the system files, in this step it is necessary to install the MariaDB database engine. Various hosting companies use it instead of MySQL this is because it is an open-source fork.
apt install mariadb-server mariadb-client
After this, disallow the remote root login and secure the MariaDB database.
$ mysql_secure_installation
Execution of the above commands will prompt actions like asking for the root password to login to the database. This is a crucial phase in the process to install WordPress in Ubuntu. Most users opt to change the password considering the security aspect. But, if the password is strong and needs not to be changed then type the command ‘N’.
Following that Press ‘Y’ in the prompted dialog box as it will remove anonymous users for safety purposes.
Once that is done it becomes critical to ensure that hackers do not access the database through remote root login. Therefore, disable it. If required one can enable it for testing purposes. It will be required if the configuration is done through a virtual server.
But, as soon as it is done the test database has to be removed.
In conclusion, to see the effect of the changes, reload the database.
Step 3 – Install PHP
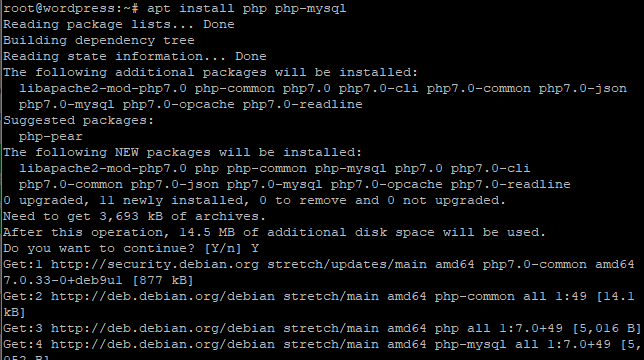
The extremely crucial component of the LAMP stack is PHP and this the right time to install it. The installation of PHP is mandatory to install WordPress in Ubuntu.
apt install php php-mysql
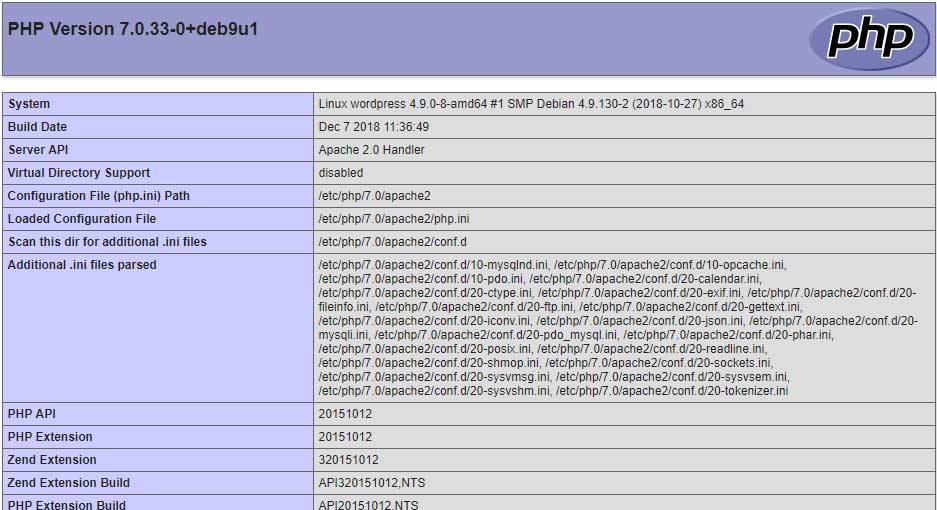
This will complete the installation. But, to be sure that it has been installed without any issues one should confirm it. To do that navigate to the /var/www/html/ and create info.php
vim /var/www/html/info.php
Subsequently, the following lines should be appended
<?php
phpinfo();
?>
That’s it. Exit now but ensure that you have saved the changes. Open a web browser and to the server URL append /info.php with the following
Step 4 – Create a WordPress database
In this step, the user has to create a database for accommodating the WordPress data. This can be easily done by logging into the MariaDB database as root.
$ mysql -u root –p
To install WordPress in Ubuntu it is essential to create a database
CREATE DATABASE wordpress_db;
In the immediate next step initiate the process of creating database users for WordPress setup.
CREATE USER ‘wp_user’@’localhost’ IDENTIFIED BY ‘password’;
If it is done it will be essential to grant privileges to the user. And along with that the permission for accessing the database needs to be granted.
GRANT ALL ON wordpress_db.* TO ‘wp_user’@’localhost’ IDENTIFIED BY ‘password’;
This is it. It is safe to exit now with the following command
FLUSH PRIVILEGES;
Exit;
Step 5 – Install WordPress in Ubuntu
All the necessary steps for support and necessary actions have been successfully completed. This brings us to the installation of the CMS platform. The latest setup file can be downloaded from the temp directory.
cd /tmp && wget https://wordpress.org/latest.tar.gz
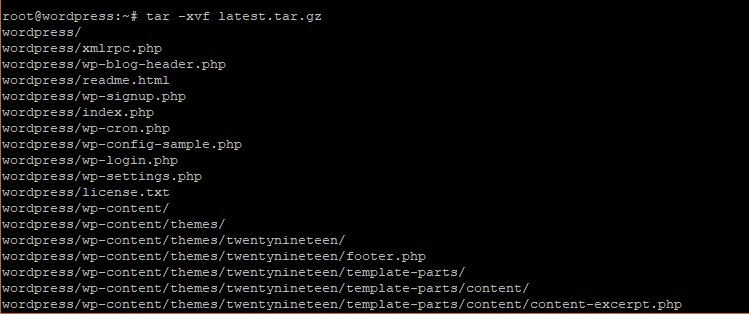
It will be a raw file which will require needs to be uncompressed. After that process, a folder titled ‘WordPress’ will be generated.
tar -xvf latest.tar.gz
The created folder needs to be copied to the /var/www/html/ path by the following command.
cp -R wordpress /var/www/html/
The platform directory has existing ownership that can be changed by entering the below command
chown -R www-data:www-data /var/www/html/wordpress/
The file permission of the folder needs to be changed. The following code can do that.
chmod -R 755 /var/www/html/wordpress/
A directory for the ‘uploads’ has to be created
$ mkdir /var/www/html/wordpress/wp-content/uploads
On successful creation of the directory change its permission for ensuring maximum security
chown -R www-data:www-data /var/www/html/wordpress/wp-content/uploads/
Visit the server URL by going through the browser. In our case, it was like this
https://server-ip/wordpress
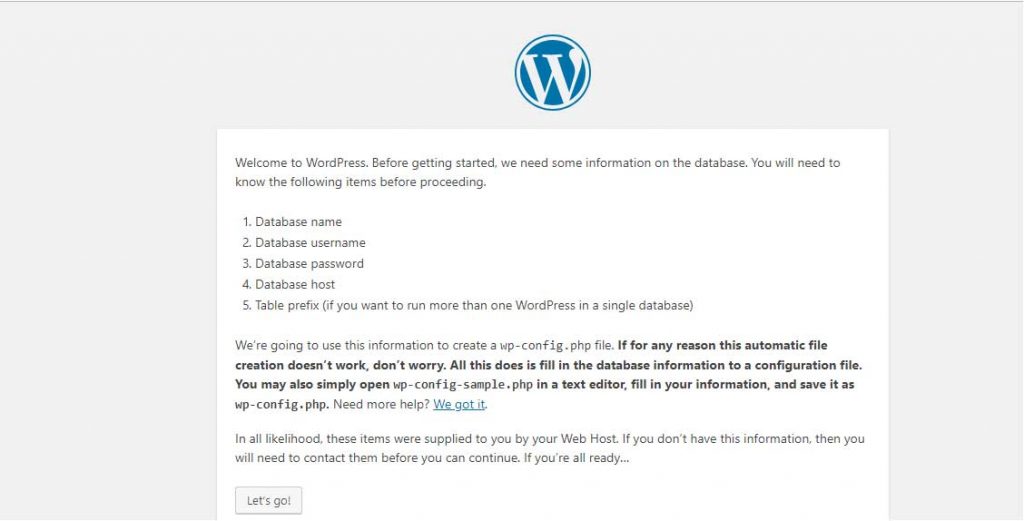
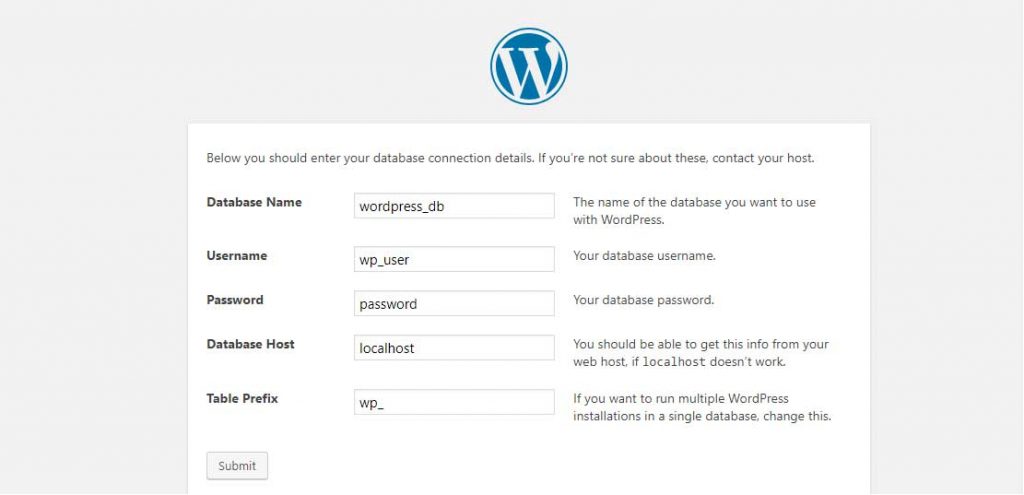
A setup wizard will be presented to the user here. Also for a successful set up a list of credentials will be provided. The form has to be filled out as per the credentials specified during the creation process in the MySQL section.
The database host and table prefix have to be left out, and the submit button should be hit.
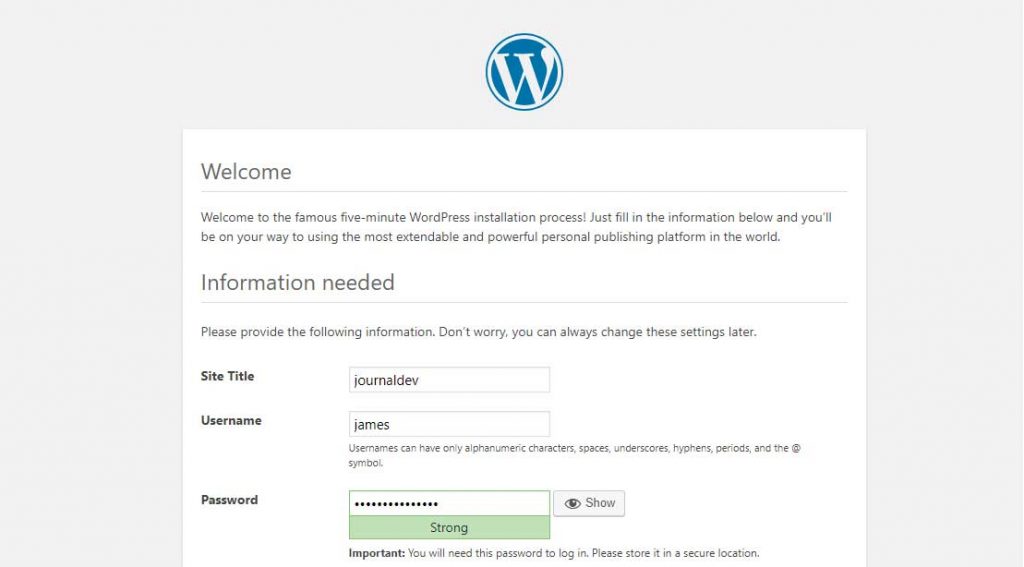
If you have carried out all the steps with accuracy, then you can run the installation.
Other necessary details like username, password, and the title should be filled and also saved. Remember it is highly recommended that the password is strong.
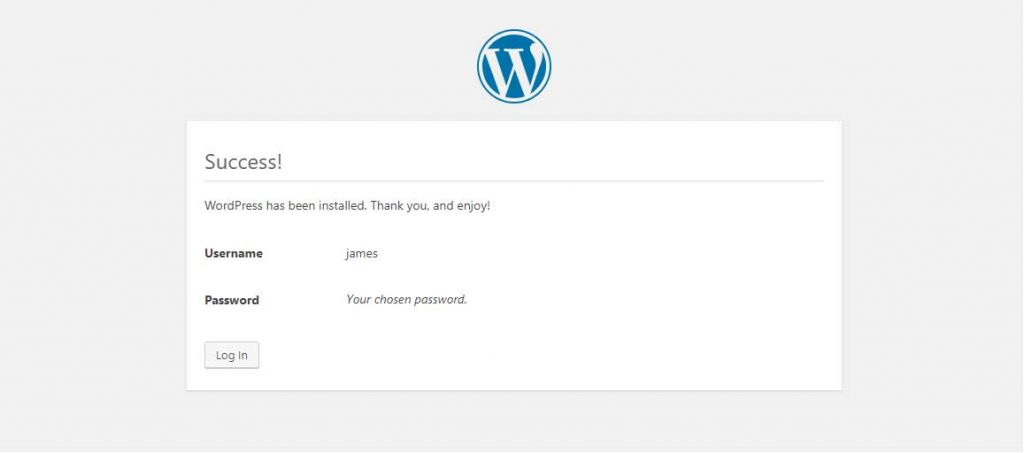
If you are sure about it, then scroll down to hit the Install button on the box. After some time the success notification will be displayed on the screen.
Conclusion
After the successful installation, click on the login button and access the login page. Enter the credentials for the same and proceed. The dashboard will appear now and that will help in creating your first blog. Do not forget to research and install themes, plugins, and other necessary features for your setup.


